New App - Fonts

When starting a new app, you need to decide which fonts/typographies the app is going to use.

You can choose between using the default installed fonts on iOS, or use custom fonts.

Setting up Custom Fonts:

If you want to use a custom set of fonts, you only need to:

  1. Add the custom fonts (.ttf files) to the .xcassets folder.
  2. Add the following code
import CoreGraphics
import CoreText
import UIKit
enum FontError: Swift.Error {
case failedToRegisterFont
}
func registerFont(named name: String) throws {
guard let asset = NSDataAsset(name: "Fonts/\(name)", bundle: Bundle.module),
let provider = CGDataProvider(data: asset.data as NSData),
let font = CGFont(provider),
CTFontManagerRegisterGraphicsFont(font, nil) else {
throw FontError.failedToRegisterFont
}
}
struct PublicSansFont {
let name: String
private init(named name: String) {
self.name = name
do {
try registerFont(named: name)
} catch {
let reason = error.localizedDescription
fatalError("Failed to register font: \(reason)")
}
}
static let light = PublicSansFont(named: "PublicSans-Light")
static let regular = PublicSansFont(named: "PublicSans-Regular")
static let medium = PublicSansFont(named: "PublicSans-Medium")
static let semiBold = PublicSansFont(named: "PublicSans-SemiBold")
static let bold = PublicSansFont(named: "PublicSans-Bold")
}


Creating Typography helper properties

Either way (custom fonts, or default fonts), you will probably want to add some convenience ways to use your most used typographies across the app.

Ideally, you should match the typographies names with the ones defined by your design team.

Here is some code that can help you with that:

import SwiftUI
// swiftlint:disable identifier_name
public extension Font {
/// The different options for Public Sans font.
enum PublicSans {
/// H1 Font.
/// Font: Public Sans.
/// Weight: Bold.
/// Size: 24.
/// Dynamic type relative to: `.title2` text style.
public static var h1: Font {
Font.custom(PublicSansFont.bold.name, size: 24, relativeTo: .title2)
}
/// H2 SemiBold Font.
/// Font: Public Sans.
/// Weight: SemiBold.
/// Size: 20.
/// Dynamic type relative to: `.title3` text style.
public static var h2SemiBold: Font {
Font.custom(PublicSansFont.semiBold.name, size: 20, relativeTo: .title3)
}
/// H2 Light Font.
/// Font: Public Sans.
/// Weight: Light.
/// Size: 20.
/// Dynamic type relative to: `.title3` text style.
public static var h2Light: Font {
Font.custom(PublicSansFont.light.name, size: 20, relativeTo: .title3)
}
/// Title Font.
/// Font: Public Sans.
/// Weight: SemiBold.
/// Size: 14.
/// Dynamic type relative to: `.subheadline` text style.
public static var title: Font {
Font.custom(PublicSansFont.semiBold.name, size: 14, relativeTo: .subheadline)
}
/// Caption Font.
/// Font: Public Sans.
/// Weight: Medium.
/// Size: 12.
/// Dynamic type relative to: `.caption` text style.
public static var caption: Font {
Font.custom(PublicSansFont.medium.name, size: 12, relativeTo: Font.TextStyle.caption)
}
/// Regular Font.
/// Font: Public Sans.
/// Weight: Regular.
/// Size: 12.
/// Dynamic type relative to: `.caption` text style.
public static var regular: Font {
Font.custom(PublicSansFont.regular.name, size: 12, relativeTo: Font.TextStyle.caption)
}
/// Hint Font.
/// Font: Public Sans.
/// Weight: Regular.
/// Size: 11.
/// Dynamic type relative to: `.caption2` text style.
public static var hint: Font {
Font.custom(PublicSansFont.regular.name, size: 11, relativeTo: .caption2)
}
}
}

Usage

Text("Charmander")
    .font(.PublicSans.h1)


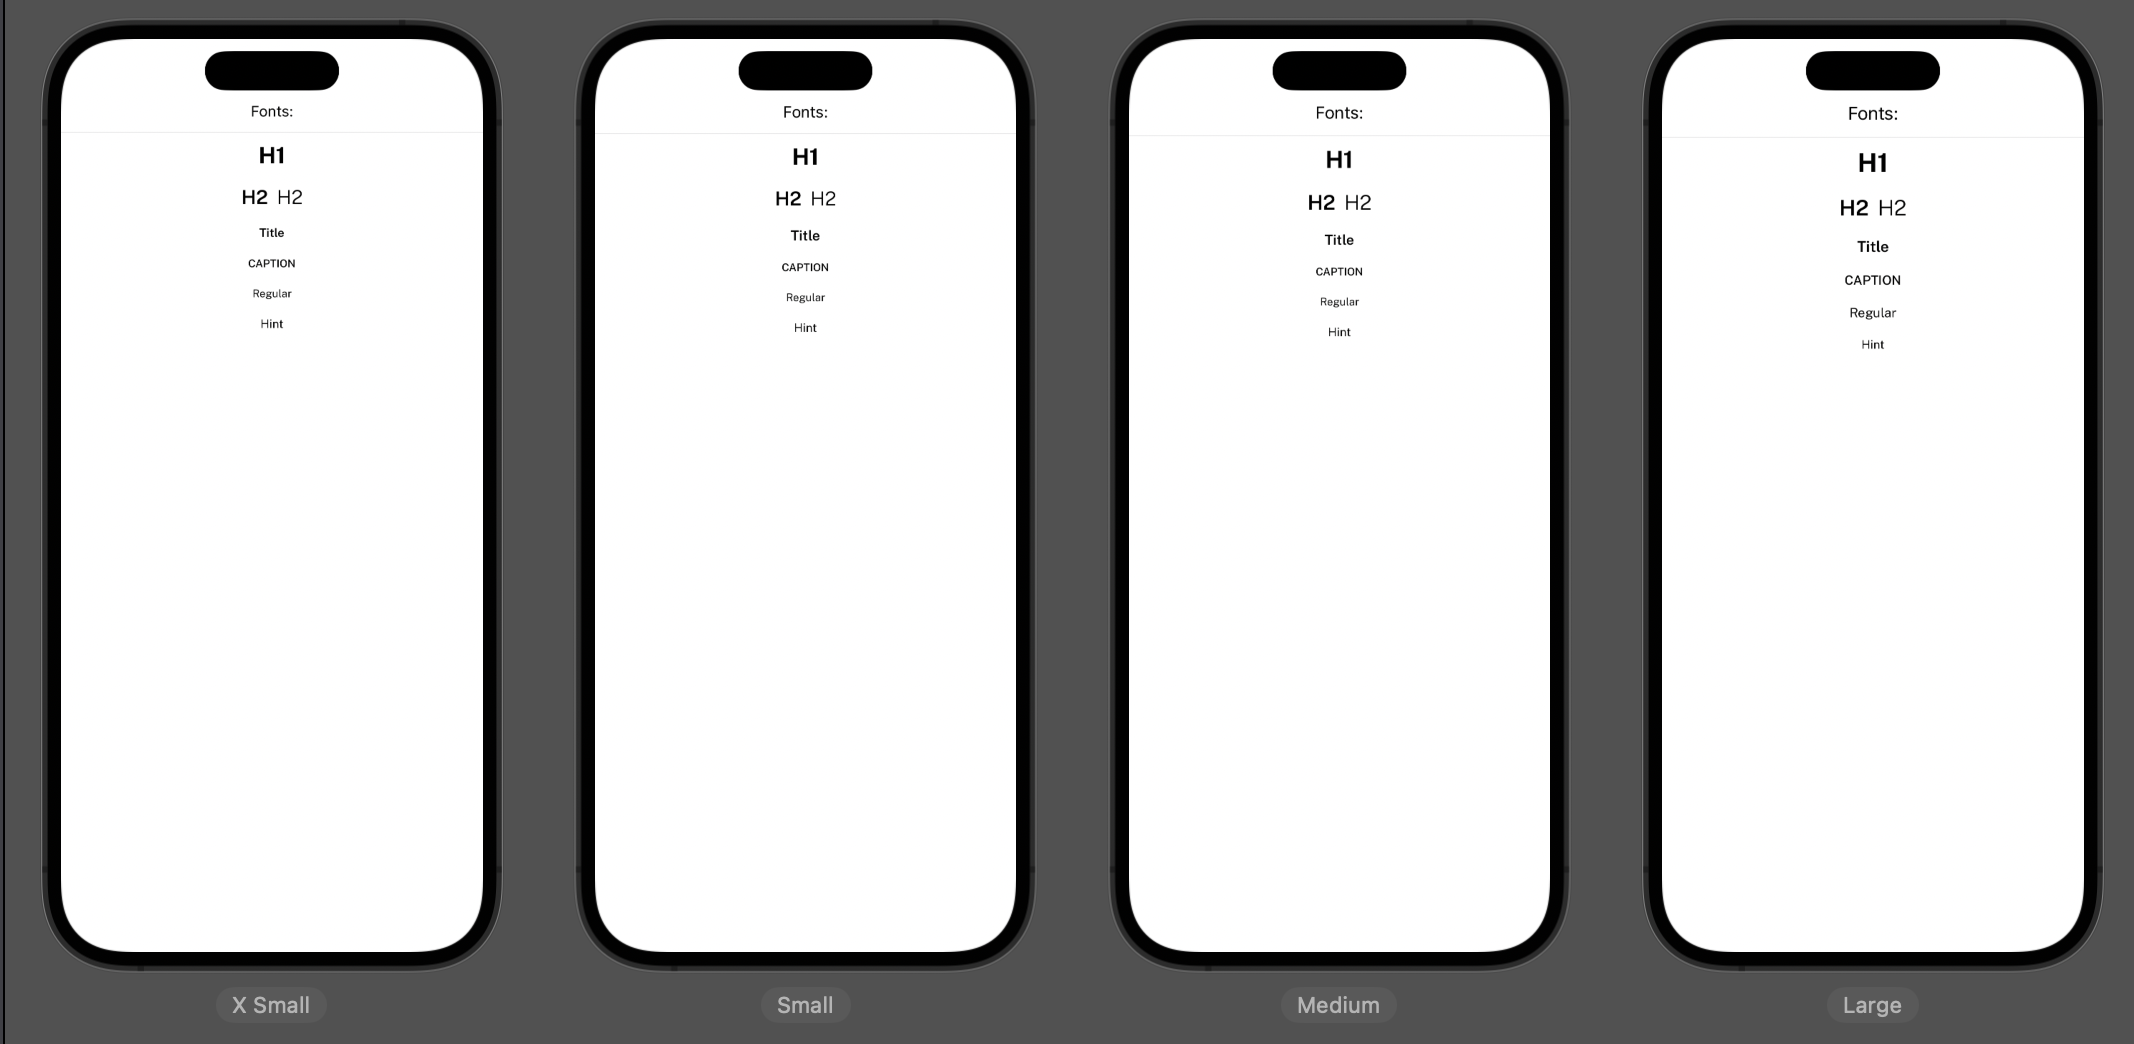
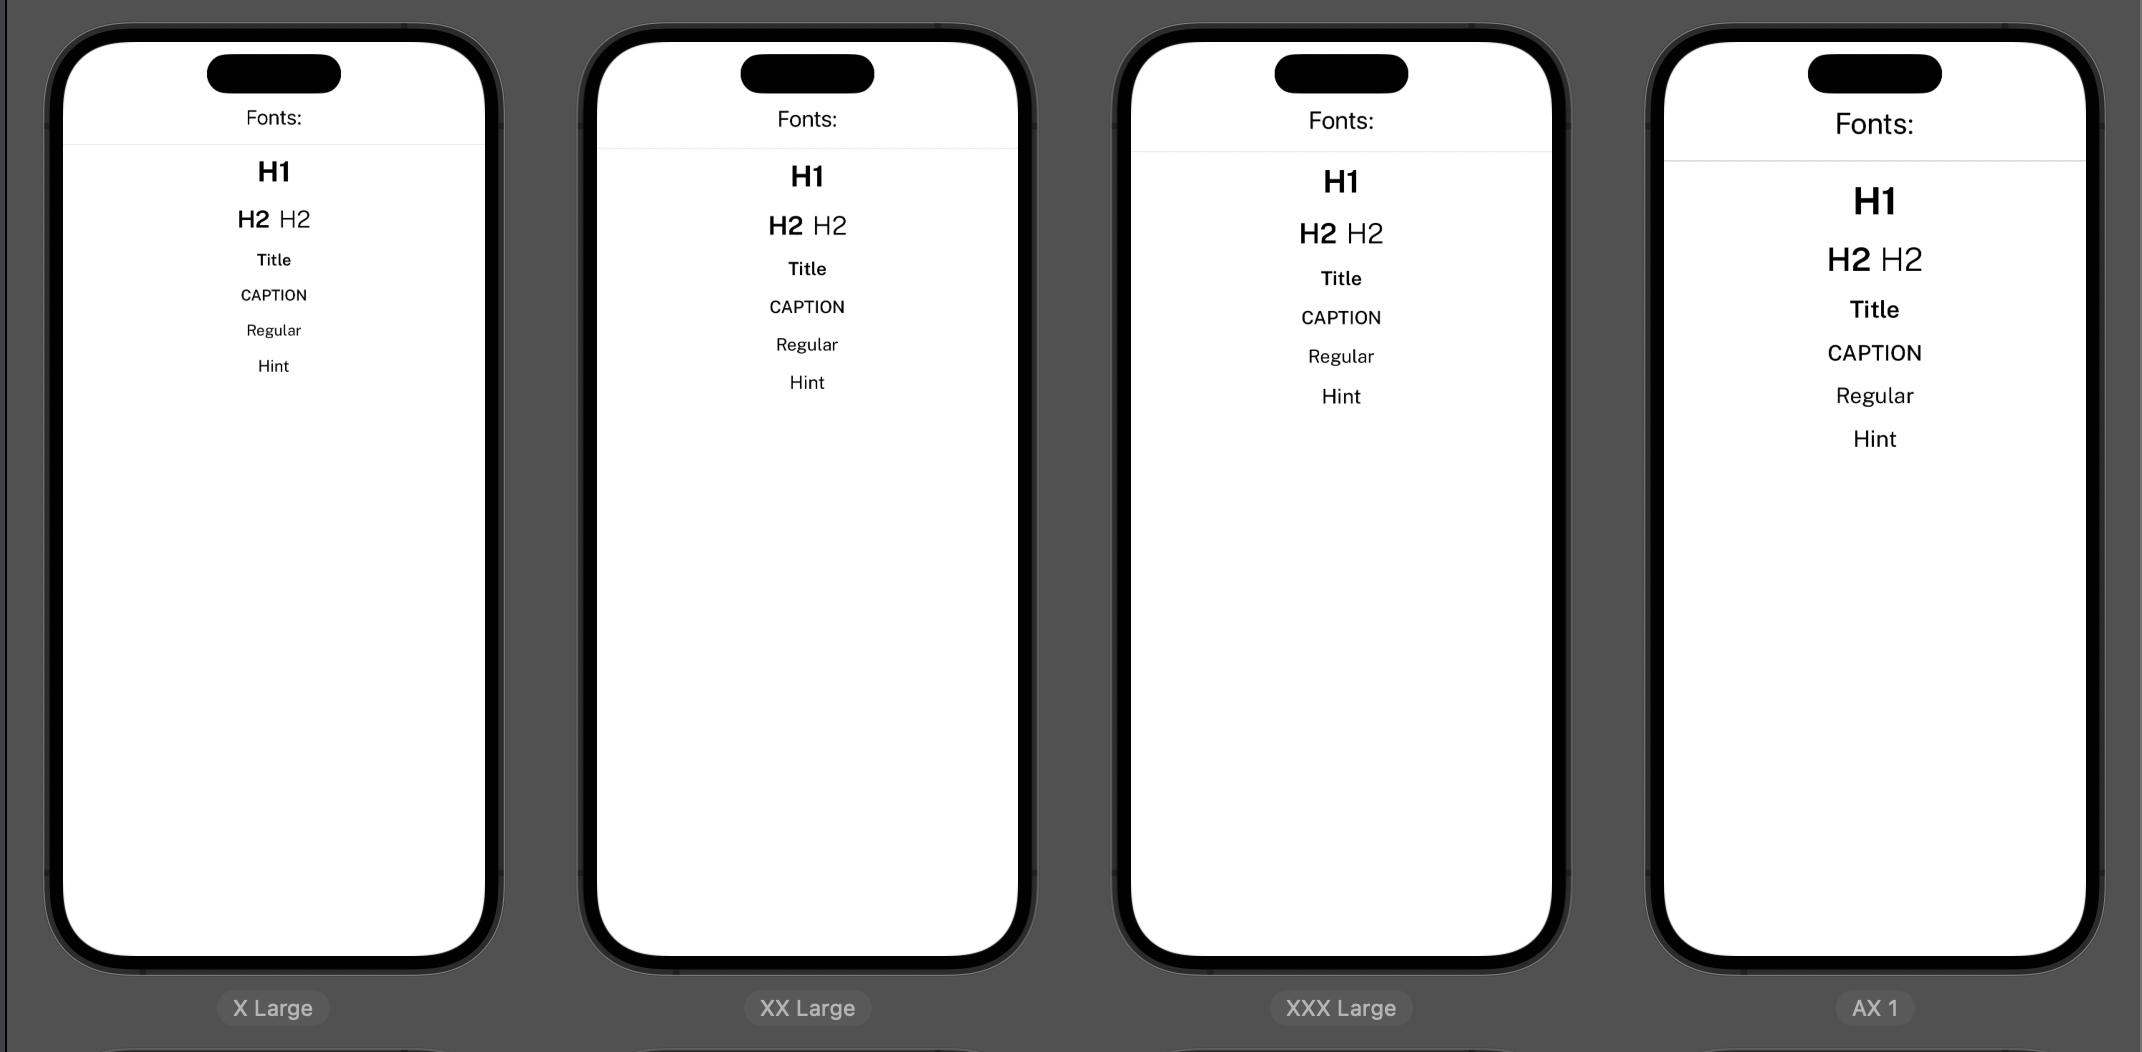
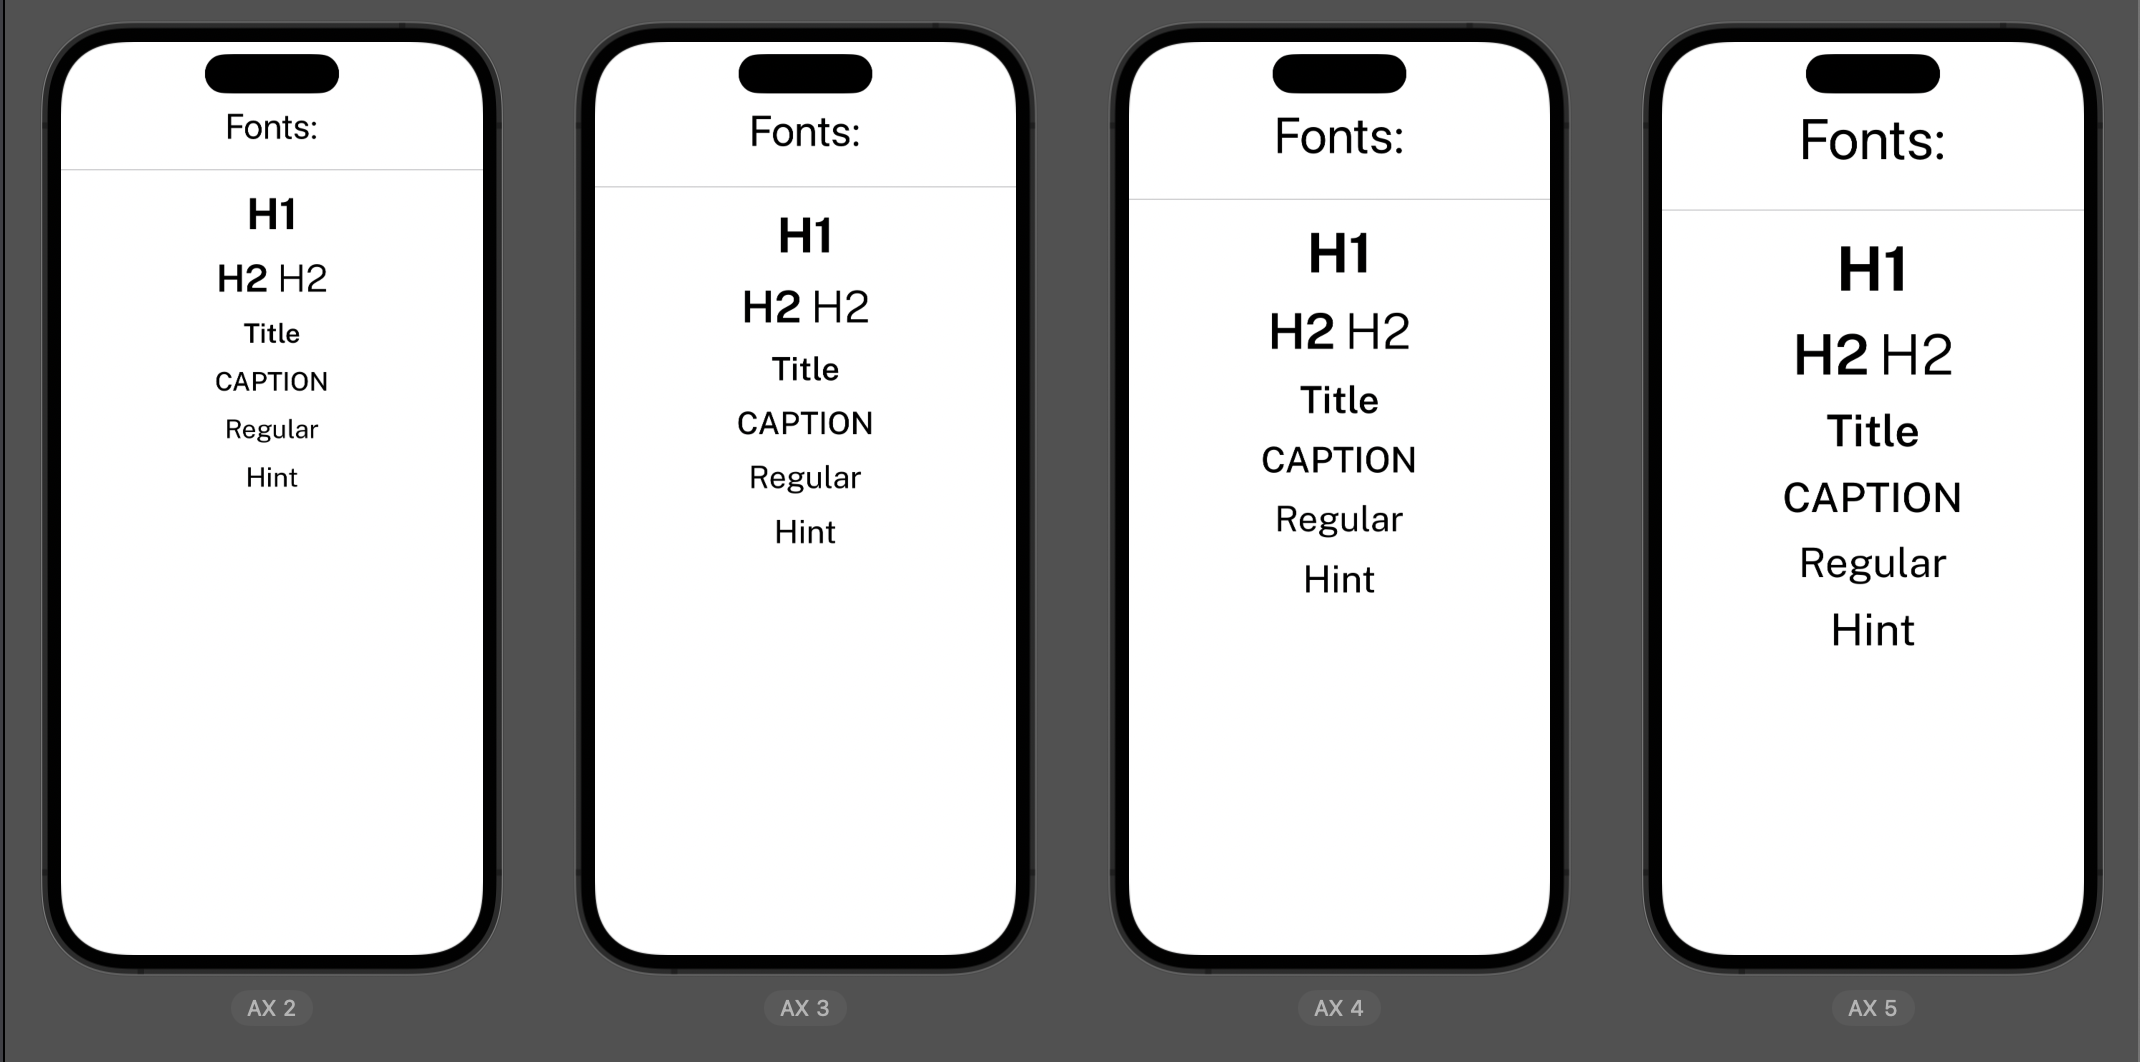
Lastly, you could create a SwiftUI preview to display them:

Preview

Preview

A11y1

A11y1

A11y2

A11y2

A11y3

A11y3

New App - Fonts | manu.show
Tags: iOS
Share: X (Twitter) LinkedIn